Page 1 of 2
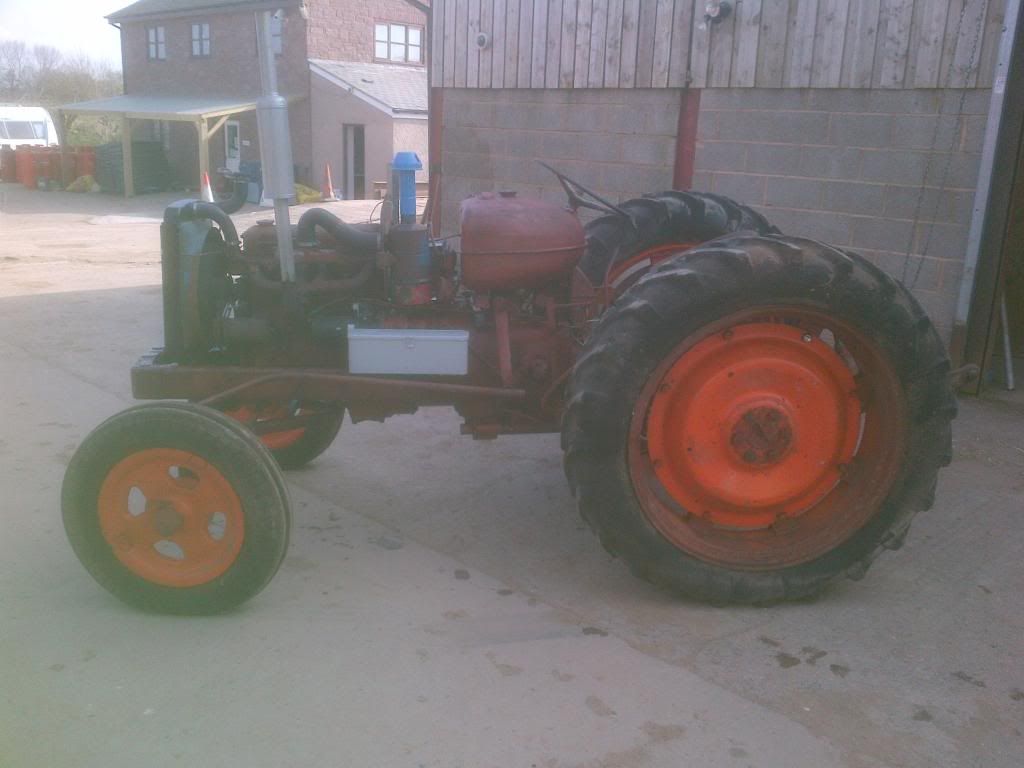
My current project progress pics :)
Posted: Fri Apr 05, 2013 10:43 pm
by Nick
Re: My current project progress pics :)
Posted: Fri Apr 05, 2013 10:45 pm
by Nick
Re: My current project progress pics :)
Posted: Fri Apr 05, 2013 10:46 pm
by Nick
Re: My current project progress pics :)
Posted: Fri Apr 05, 2013 10:53 pm
by Mjg1705
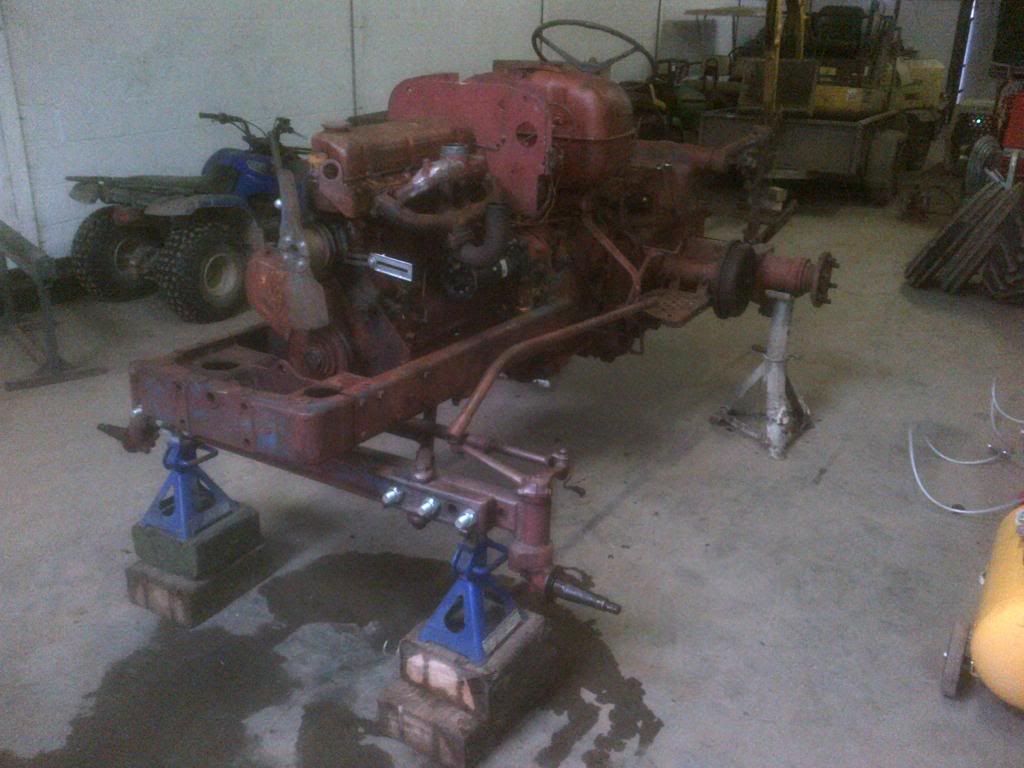
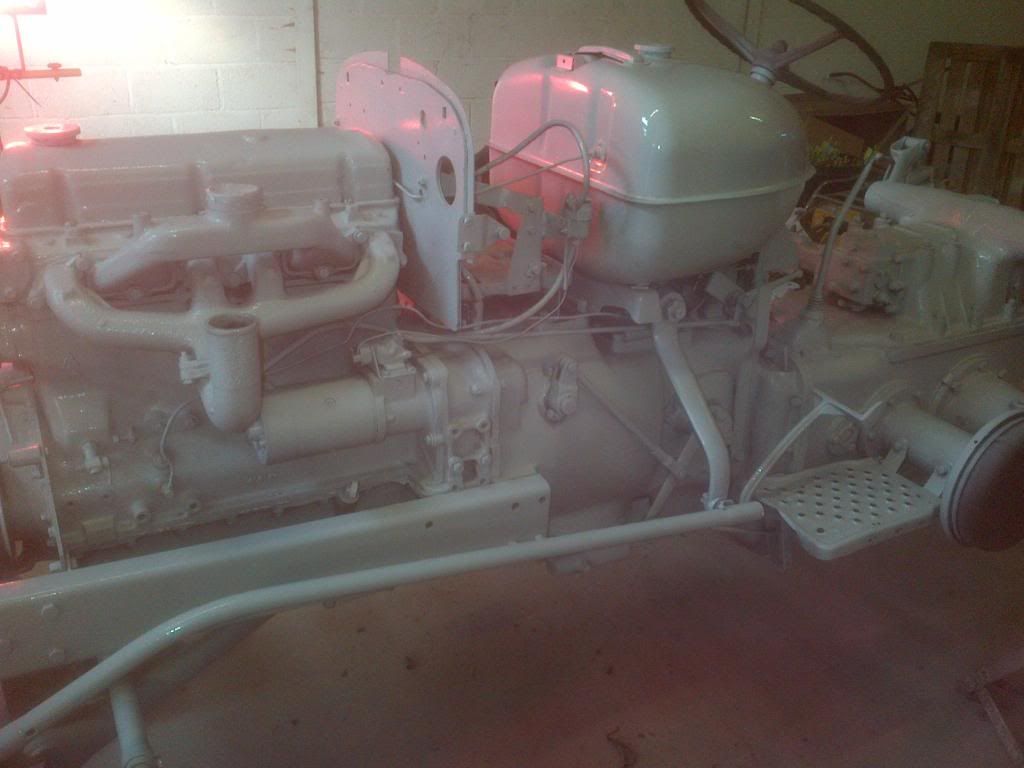
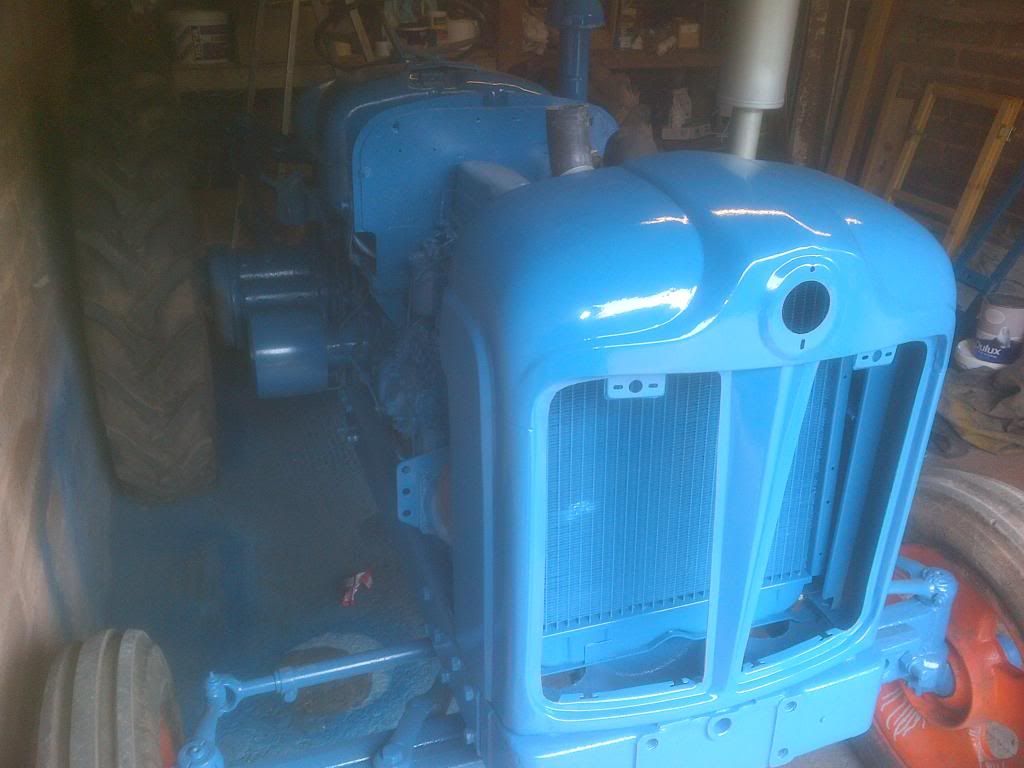
Coming alone nicely !! I see you have the mechanical governed minimec pump fitted ! Instead of the old Simms style ! Be nice looking when it's done

Re: My current project progress pics :)
Posted: Fri Apr 05, 2013 10:58 pm
by Nick
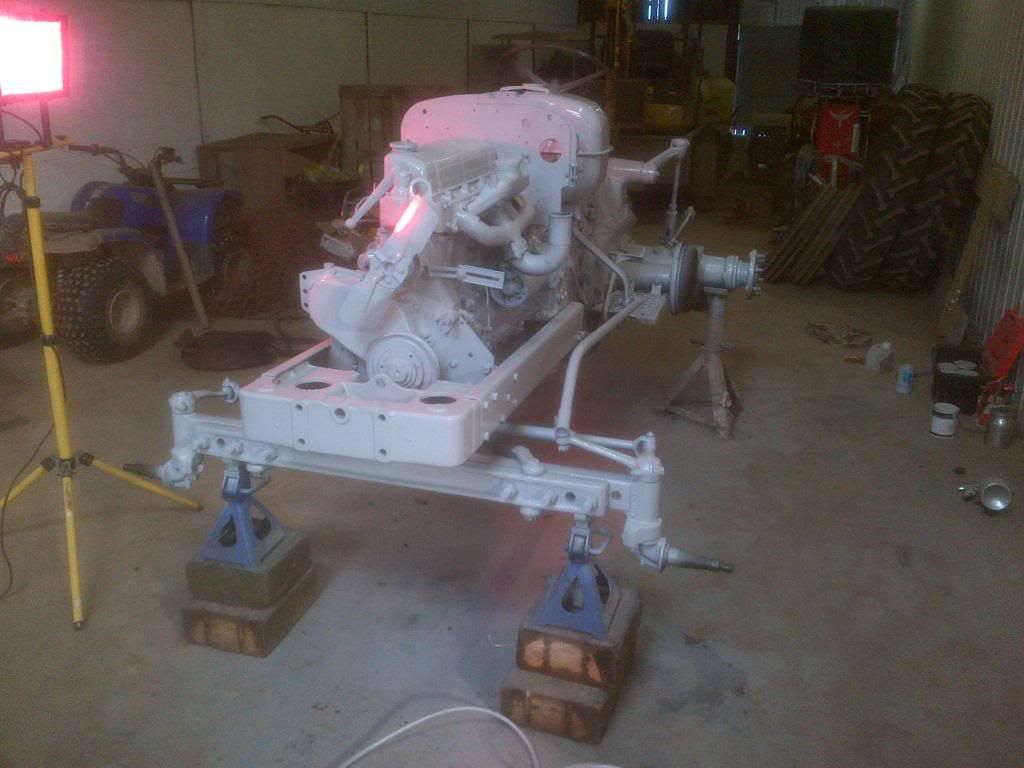
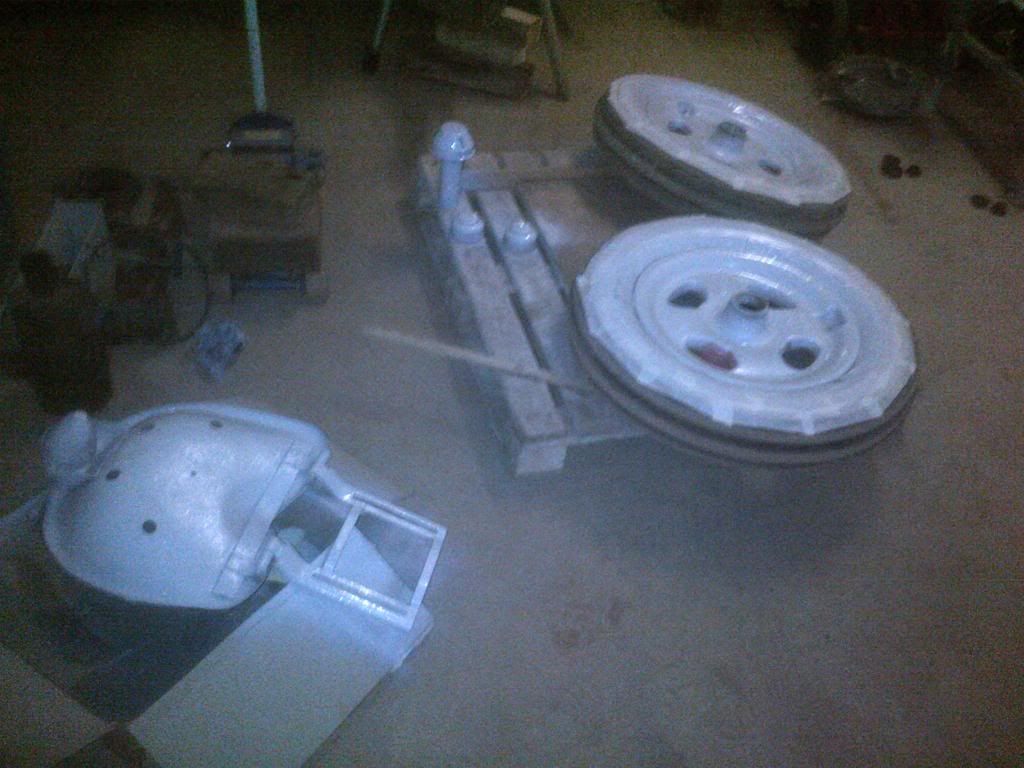
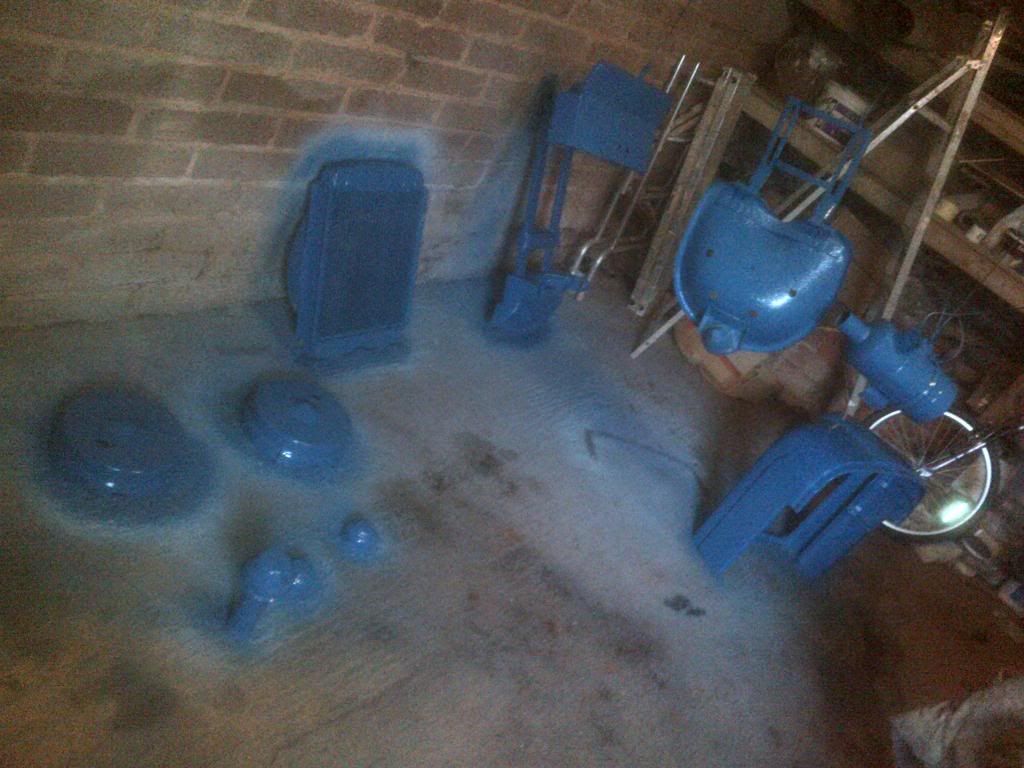
Yeah, its got a new performance engine, runs really nicely too. I have just finished the second coat on the nosecone, brake drums covers, air filter assembly, hubcaps, drawbar, seat and radiator so i hope to be able to build it up over the weekend. Then there are the wings to repair and the bonnet hinge to fix, then they can be painted and go on. After that its mainly wiring, lights etc and finishing touches.

Re: My current project progress pics :)
Posted: Sat Apr 06, 2013 12:44 am
by JC
That's looking really good, Nick!
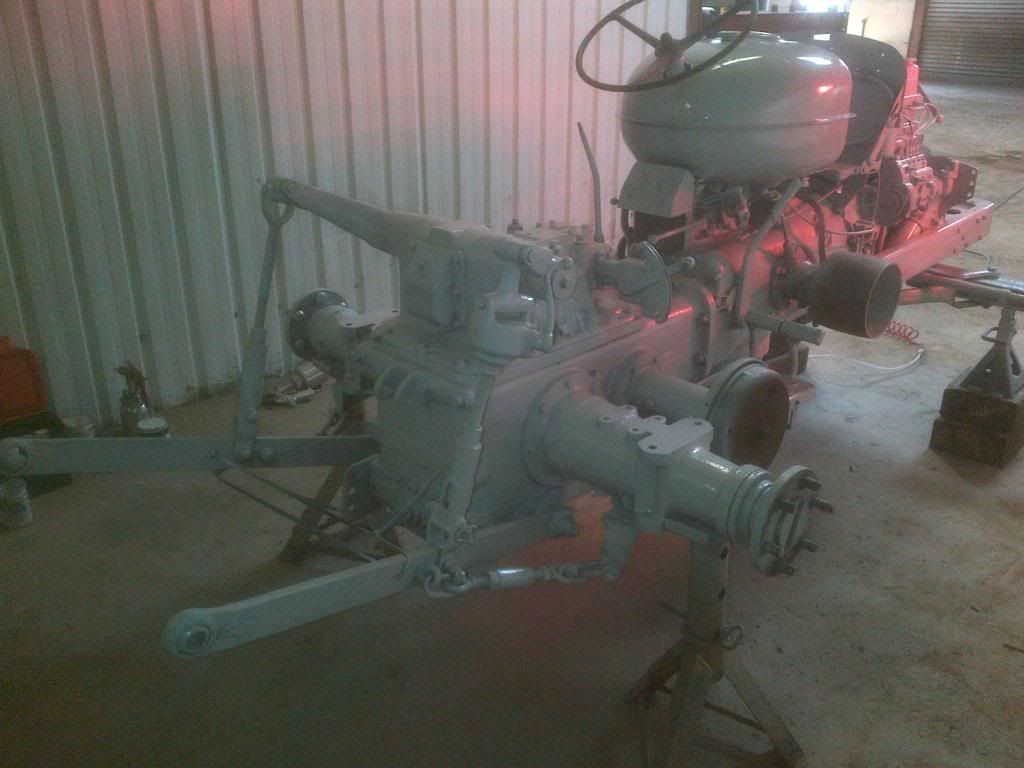
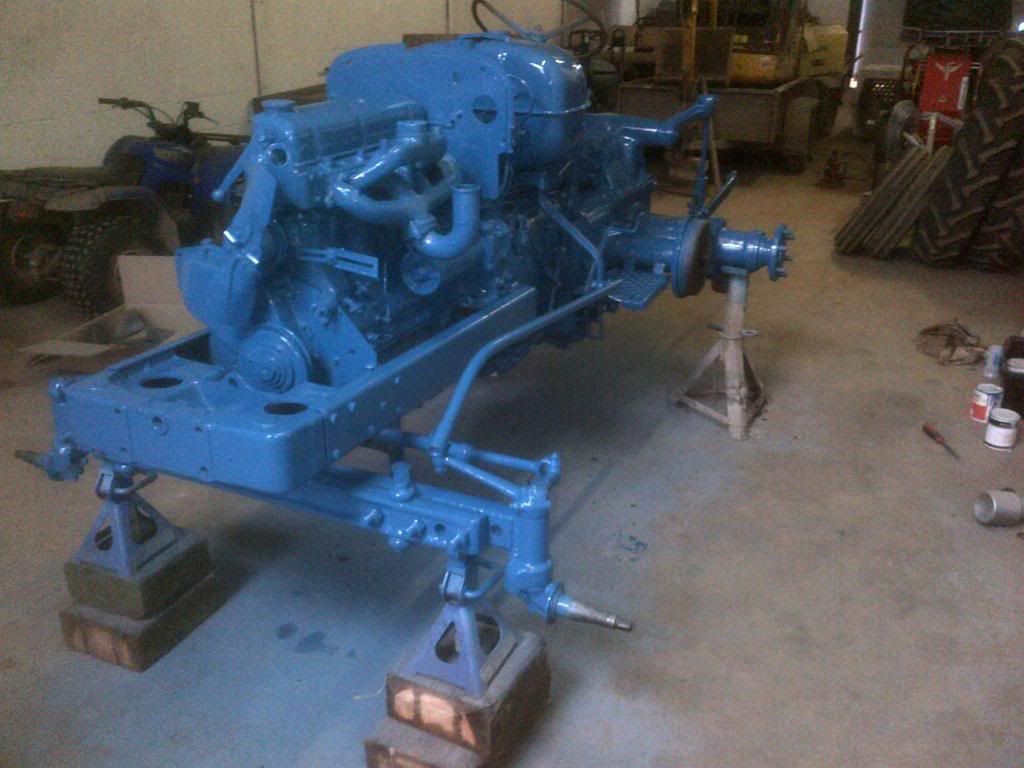
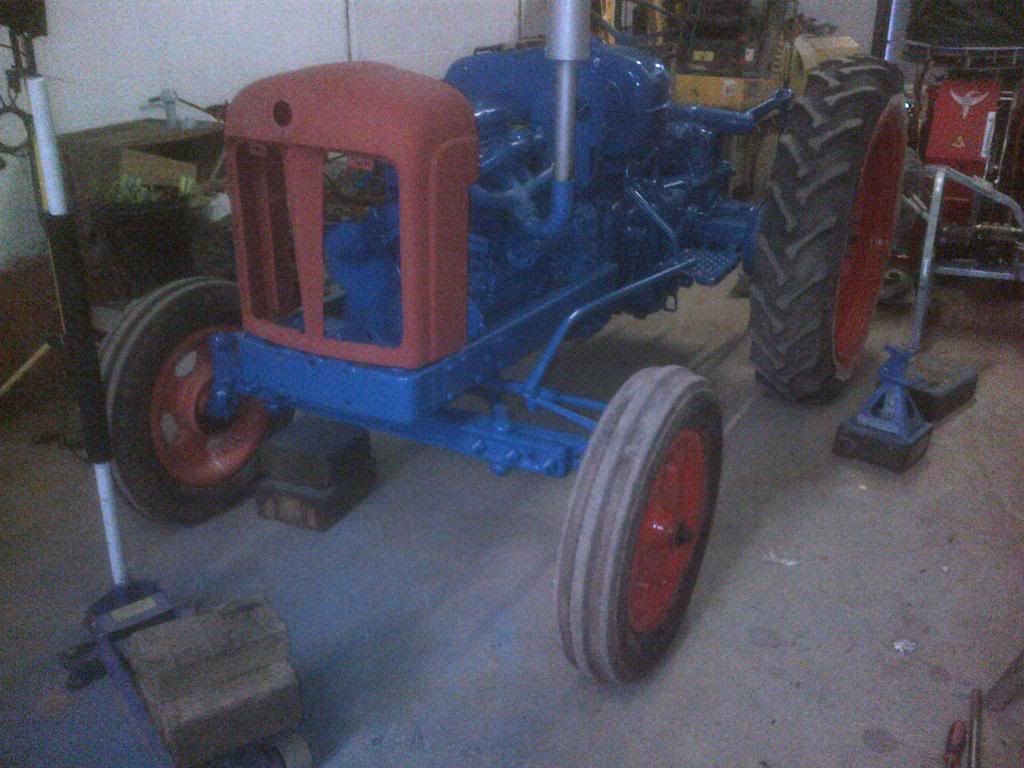
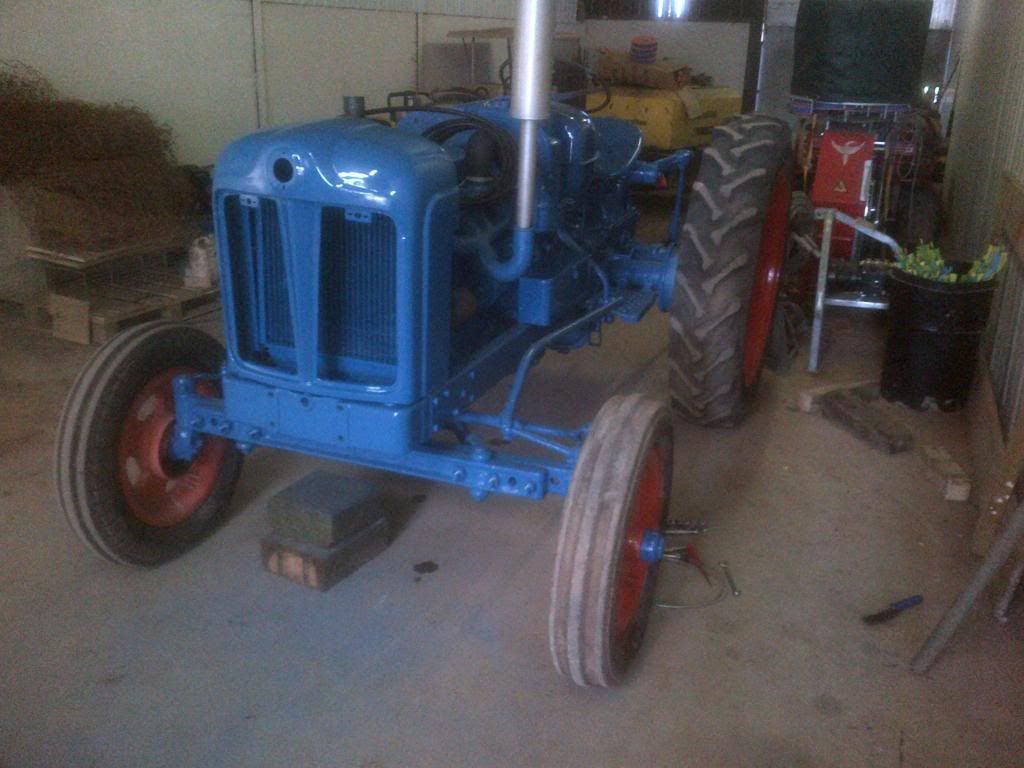
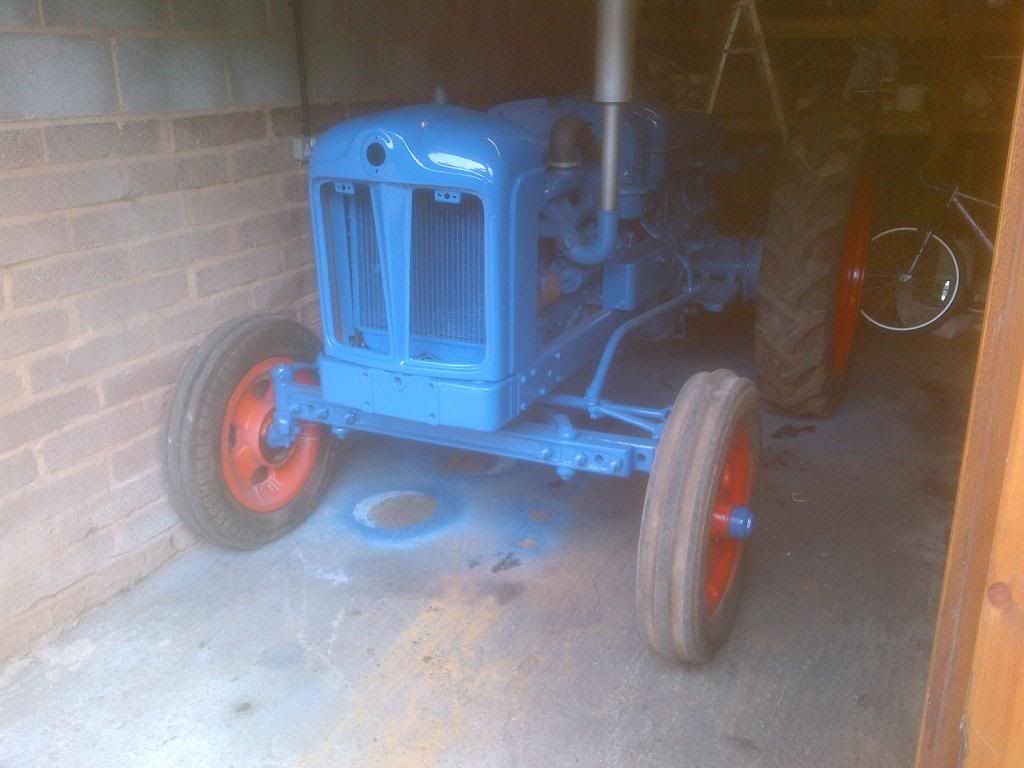
One suggestion. Before you put the paint gun away, you may want to straighten your steering drag link, unless its bent like that to clear a loader frame or something.
Re: My current project progress pics :)
Posted: Sat Apr 06, 2013 5:04 pm
by Nick
Yeah i did think that, apparantly it was bent for some implement which was fixed to the side rails so i was going to leave it, i did try and knock the joints out, but they wouldnt budge. Could you straighten it in place?
Re: My current project progress pics :)
Posted: Sat Apr 06, 2013 5:19 pm
by JC
You could straighten it in place with some heat, but it would be hard to get it perfectly straight. Your best bet would be to take it off and use a press. Can you rent or borrow a tie rod puller to take it off?
Keep posting pics. Your Major is going to look really good when its done.
Re: My current project progress pics :)
Posted: Sun Apr 07, 2013 8:24 am
by AdrianNPMajor
Looking good.

Your blue paint looks spot on. Where did you buy it?
Best
Adrian
Re: My current project progress pics :)
Posted: Sun Apr 07, 2013 11:34 am
by fnoller

Looking gooooood

Re: My current project progress pics :)
Posted: Sun Apr 07, 2013 1:38 pm
by BearCreek Majors
Nick, she is looking good!
I usably knock the draglink joints apart with two big sledge hammers, holding one against the side of the knuckle, and then smack the opposite side of the knuckle, after a few good whacks the tapered shaft will pop right out, you can actually hear a different tone when it pops loose. Or you can simply back off the adjusting nuts in the end of the rod and leave the ball/shaft in the knuckle. The rod is just a hollow tube and can be bent in a press quite easily, I use soft wood blocks to let then conform somewhat to the shape of the rod rather than leaving it full of dents and flat spots.
Pat
Re: My current project progress pics :)
Posted: Sun Apr 07, 2013 2:14 pm
by Nick
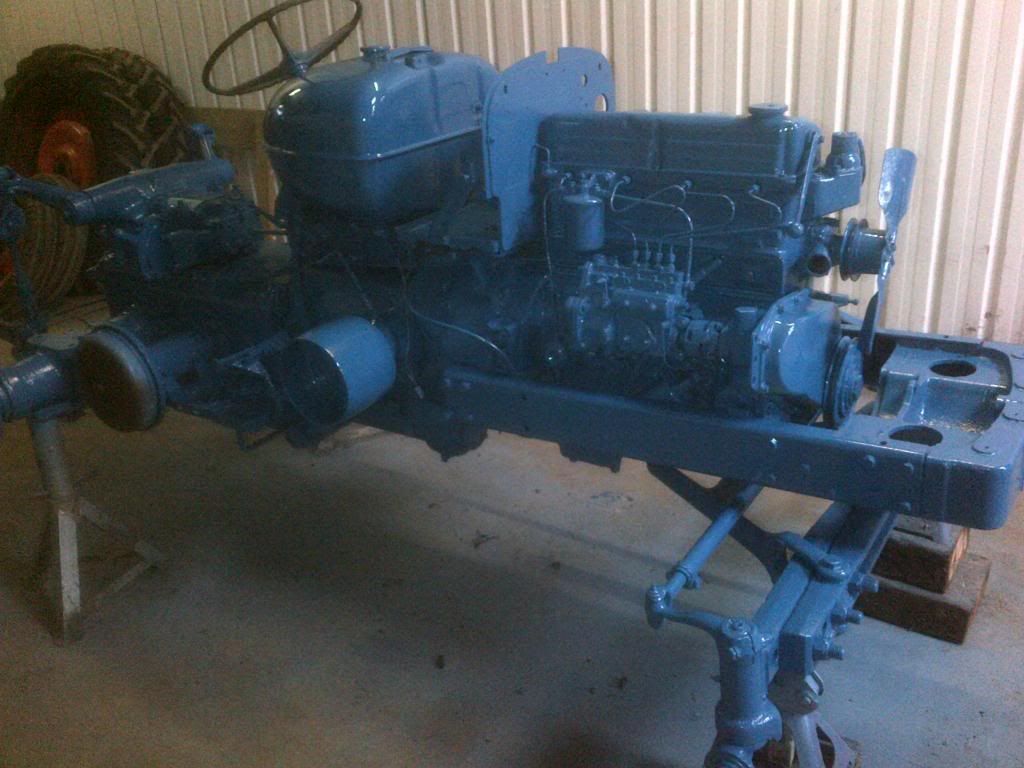
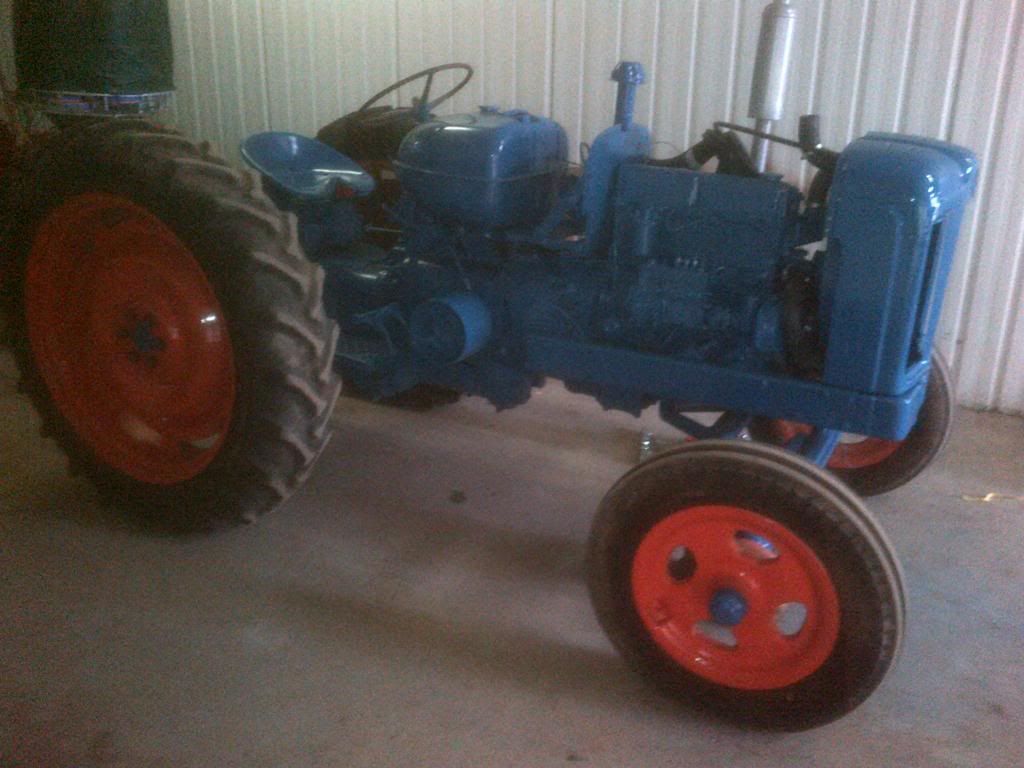
The paint is from agriline, and seems very good quality for the price of it! Ive now assembled it and got it running again, there are a few small places which ive missed, but i think once everything is back on it, i.e wings bonnet etc i will touch it up then. I think i may have another bash at getting that drag tube off, i have a 20 ton press here so it will be easy to do providing i can get the bloody thing off. I will also take a few more pictures and post them later
Oh, also, i want to check the dynamo is operational before i paint it, how do i go about that? Ive got it connected negative earth, so i would need to polarise it i guess? How do you do it?
Re: My current project progress pics :)
Posted: Sun Apr 07, 2013 4:06 pm
by Pavel
Google Lucas Fault Diagnosis Service Manual. It's a PDF that covers the dynamo, regulator and other Lucas systems.
In the first instance start the engine, switch on lights, place volt meter across battery terminals. Voltage should rise as engine revs rise [with or without lights on -- but lights on will give a better indication of good dynamo output.]
Pavel
Re: My current project progress pics :)
Posted: Sun Apr 07, 2013 5:36 pm
by scoobyjim
put the dynamo on the bench. put a positive on both terminals on the dynamo than connect an earth. it should set away like a motor. if it does this it should be ok.
Re: My current project progress pics :)
Posted: Sun Apr 07, 2013 5:56 pm
by Nick
Re: My current project progress pics :)
Posted: Sun Apr 07, 2013 5:58 pm
by Nick
Re: My current project progress pics :)
Posted: Sun Apr 07, 2013 9:43 pm
by AdrianNPMajor
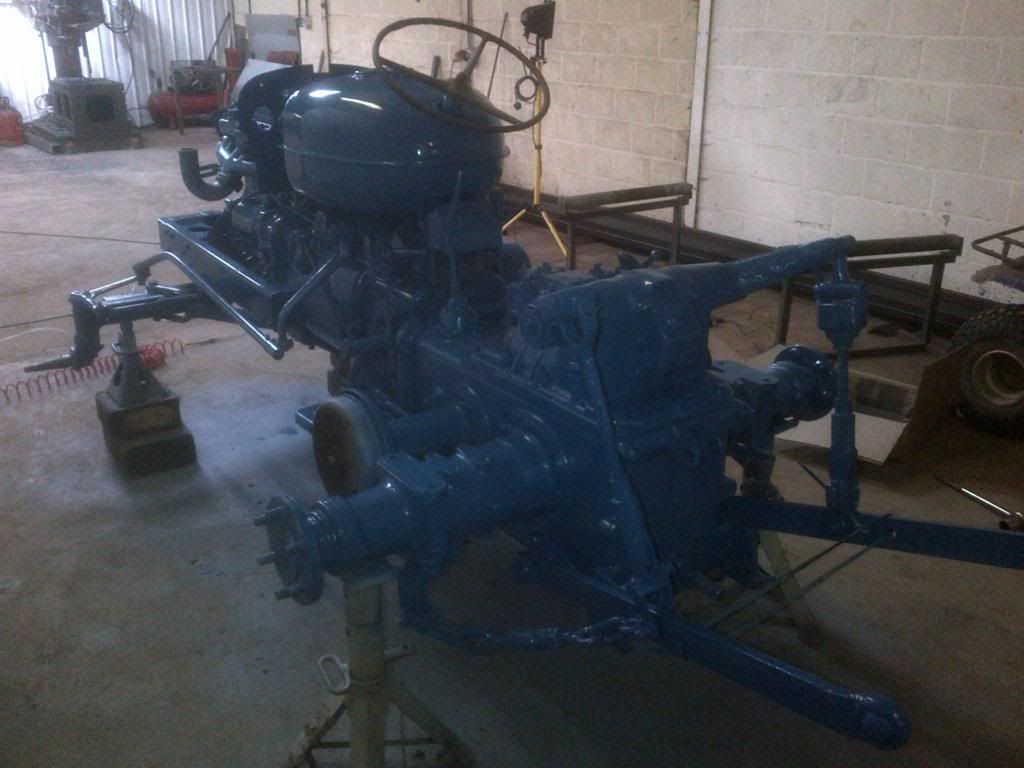
Lovely tractor and you've done her proud.

In the home straight now.
Best
Adrian
Re: My current project progress pics :)
Posted: Mon Apr 08, 2013 9:20 am
by Pavel
To ensure correct polarity connect the dynamo body to your battery earth terminal. Then with a wire connected to the live terminal of the batt. stroke the other end of it against the dynamo positive connector 3 times. It will spark, but that's normal.
Pavel
Re: My current project progress pics :)
Posted: Mon Apr 08, 2013 12:32 pm
by Dandy Dave
Very Nice Restoration.

Dandy Dave!
Re: My current project progress pics :)
Posted: Tue Apr 16, 2013 8:31 am
by thestig246
she looks grand very tidy work!
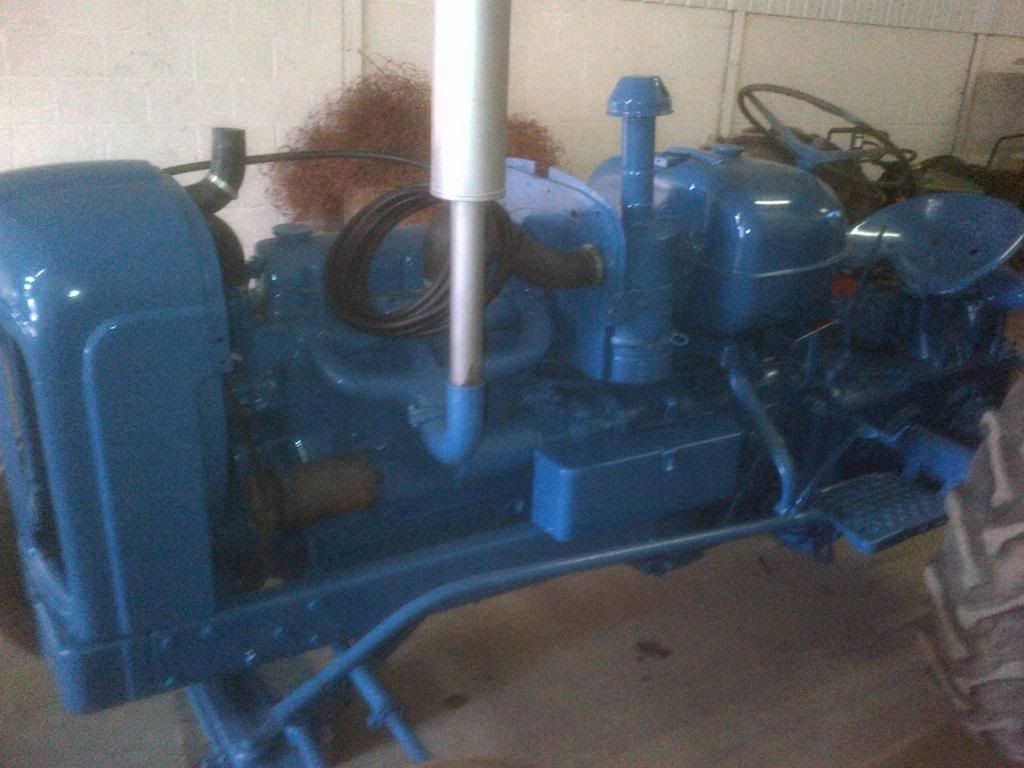
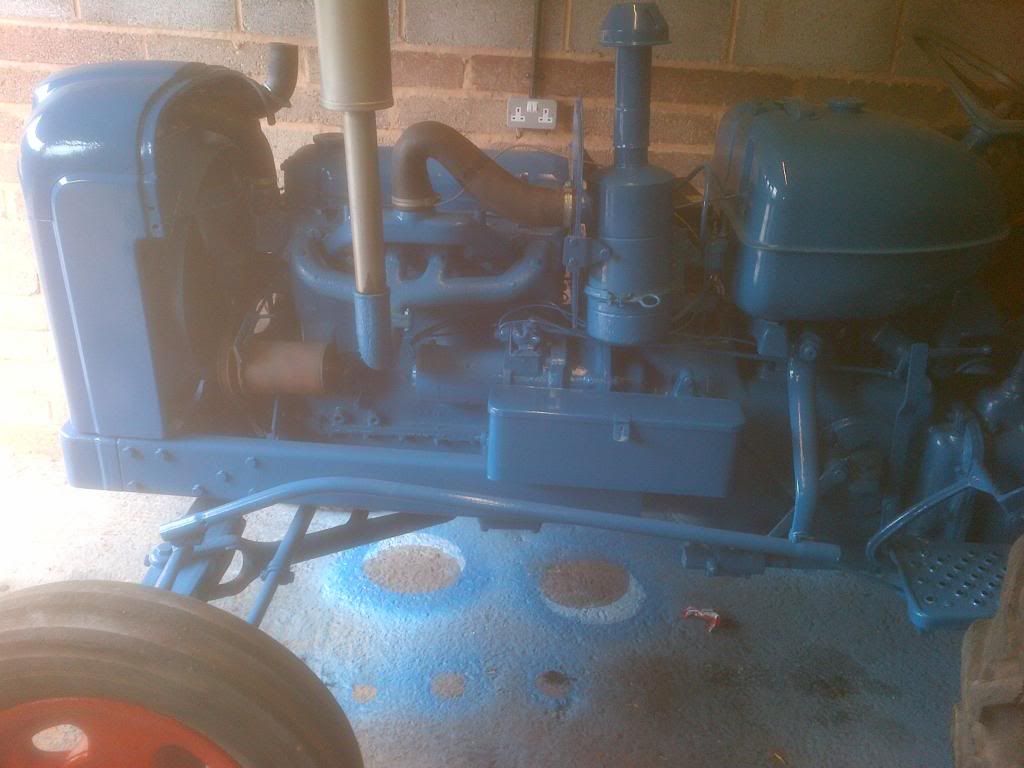
im just curious is the lever on the front of the rocker cover a de-compressor?? ive seen about them in the book but never actaully seen one in the flesh

all the best dan.
Re: My current project progress pics :)
Posted: Tue Apr 16, 2013 11:43 am
by Dandy Dave
Yeah, That is a decompressor. My Power Major also has one. Dandy Dave!
Re: My current project progress pics :)
Posted: Tue Apr 16, 2013 2:28 pm
by Glenn
Nick; Getting ready to order paint for my project. Could you share on how much paint you have gone though?
Thanks Glenn
Re: My current project progress pics :)
Posted: Tue Apr 16, 2013 8:59 pm
by Nick
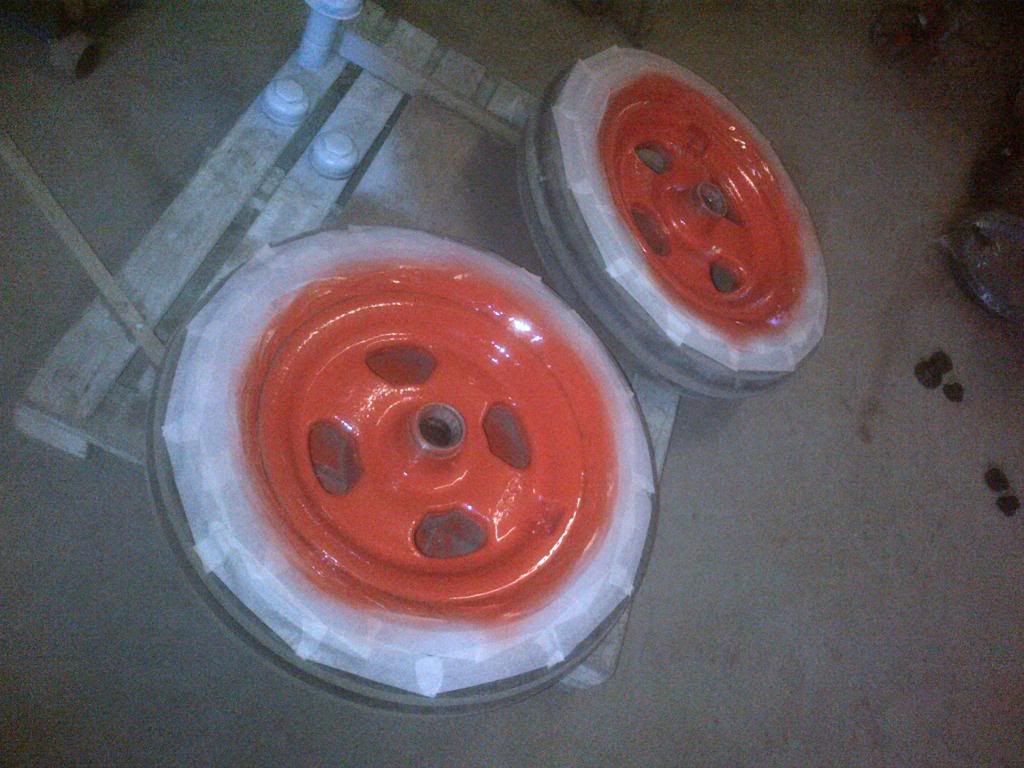
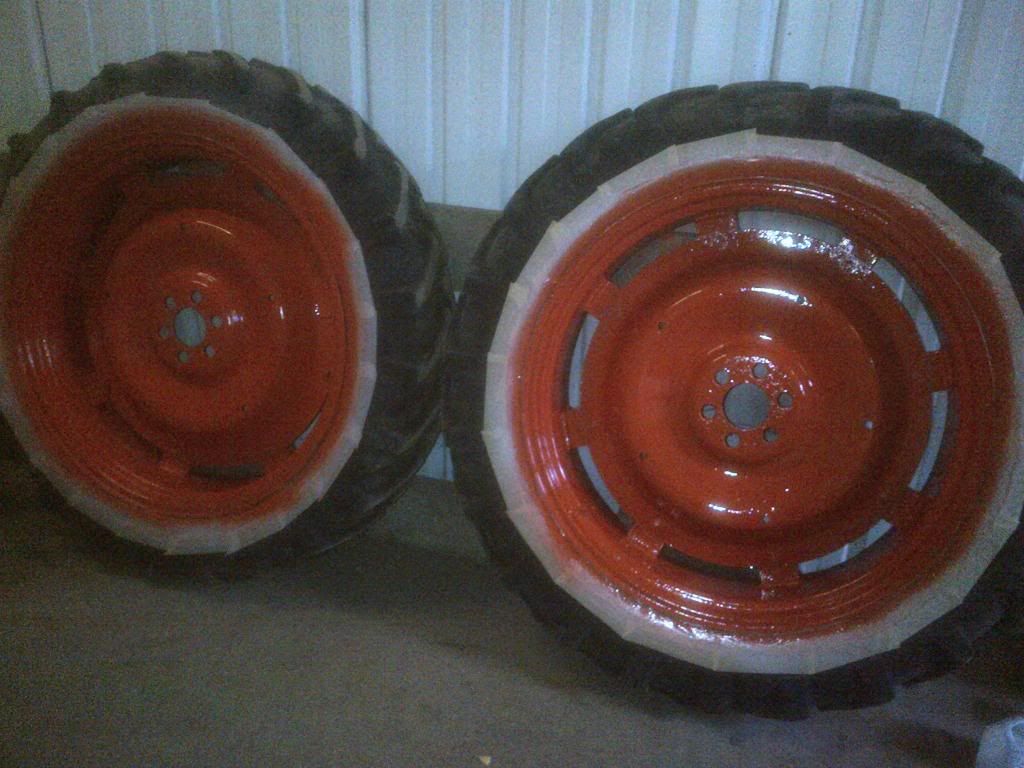
I have used two litres of grey primer (including wheels). I havent done the bonnet or wings yet either. I have used about 1.5 litres of blue, and 0.5 litres of orange so far, but i havent finished the wheels properly either.
I reckon from start to complete finish i will use 3 litres of grey, two of blue and nearly one of orange. Also I have used 4 litres of thinners so far, but that includes cleaning the pot and gun. Hope that helps
Re: My current project progress pics :)
Posted: Tue Apr 16, 2013 9:10 pm
by chriss
it's all looking very smart, you must be well pleased
Re: My current project progress pics :)
Posted: Thu Apr 18, 2013 8:25 am
by Nick
Yeah im very pleased with it considering Ive never done any spraying before! I used a cheap 50ltr compressor which came with free air tools for £150! It managed it very well!
My only advice to any other people who are thinking of doing this and are novices like me, is make sure there is plenty of light, because ive missed a couple places which i couldnt see properly in the workshop.
Its not an issue really because ive got a few other things to paint so i can touch it in, but i could imagine it would be very depressing if you think youve finished and then find bits youve missed