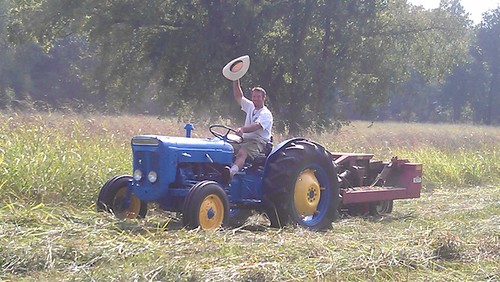
Hay guys! Pun intended... sorry it has been so long since my last update/installment but I am happy to report that I have been busy getting my hay down. I had a chance this morning to show how I managed to finish this task. Here you go...
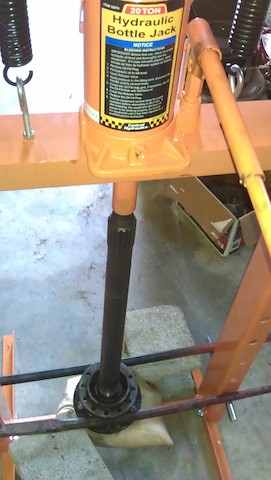
To remove the bearing using my 20 ton press I got 6 3' pieces of 7/16 x 14tpi (matches bolt holes in bearing retainer) all thread from Fastenal. 4 may have worked but went with 6 to be on the safe side. Also got matching flange nuts from them for the press side. Wanted to avoid drilling holes in my press plate so I found some 1/4" thick angle iron, cut of two 2' pieces and drilled 3 holes in each. These hole match up with the opposing side bolt holes in the bearing retainer. Used a couple of pieces of 4x4 post as a base to set the axle on. Doesn't really matter what you use here as long as they are exactly the same dimension (to keep the bearing level when placing your all thread nuts). Once I was sure the assembly was level and in line with my press ram I installed the nuts onto the all thread just finger tight for all 6 being careful not to lift the assembly. Now remove the spacers supporting the assembly so it should now be suspended by the all thread. It is worth mentioning you should be doing all of this with the nuts replaced on the wheel studs to protect the threads but I also recommend having a pillow or something below the assembly to "catch" the axle when it comes free from the bearing retainer. Now you're ready to press!
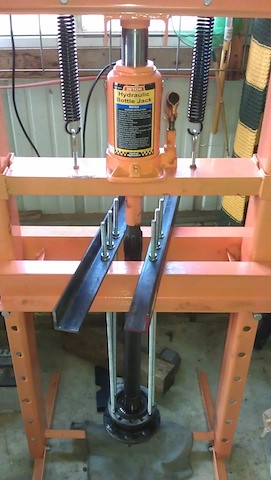
One of the bearings took a lot more pressure before it broke free. Was really starting to make me worry but it finally went POP and came away cleanly. These things are really on there! Clean off old bearings and put somewhere safe as you will use these to press out the old cups.
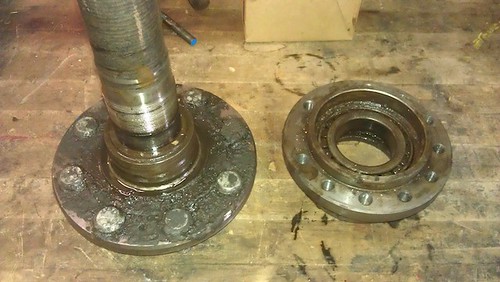
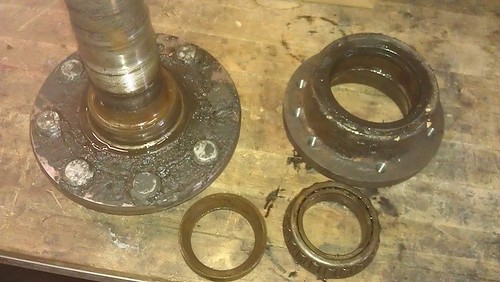
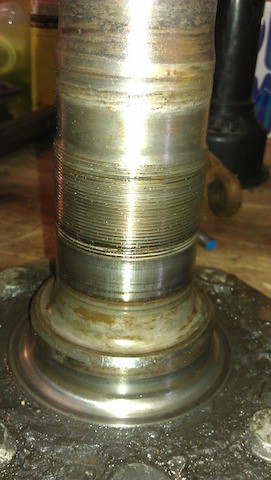
Next, clamp the retainers in a vice and "punch" out the old seals with a hammer and chisel..or whatever you have. Just be sure not to damage the retainer.
Now that old seals and the bearings are removed it is time to remove the bearing cups. Back at the press, flip the retainer over and use the bearings you just removed to press out the old cups. I used a large socket on top of the bearings to allow my ram to make contact. Once removed, clean off the old cups and put them somewhere they won't get damaged as you will use these to press in the new cups later.
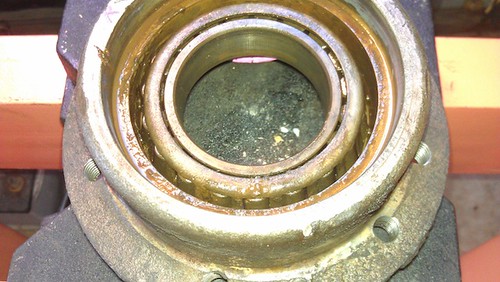
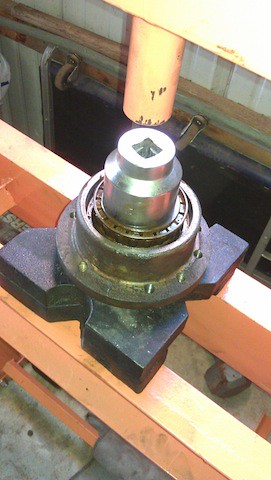
With the old cups removed it is time to prep them for pressing in the new cups and seals. First do a thorough clean up the retainers to be sure there is no small particles of dirt or other abrasive debris that may score the lands when pressing in the new seals/bearings. Then lube the retainer with grease to reduce friction and allow the seals to press in smoothly and evenly. Now using the old clean and undamaged cups (fat side down) with a steel plate on top, press in the new cups. Be sure that you do this slowly and carefully to be sure the cup is being pressed evenly. Keep pressing until cup is fully seated...you will feel a slight change in pressure/resistance. Before going to next step, turn over retainer and double check that the cup is fully seated against retainer.
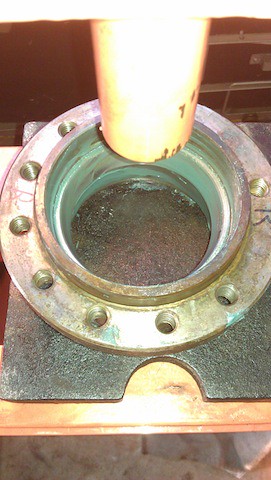
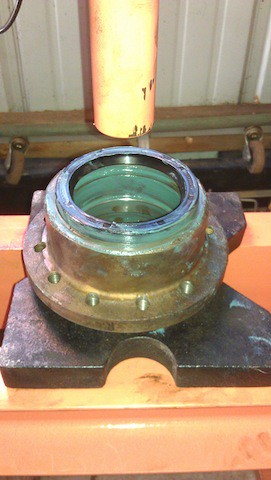
With the cups installed it is time to press in the new seals. Again pre lube the seal and retainer with grease. Remember that these seals are fragile and easy to damage if not perfectly centered and level before pressing. I find I have good success hand centering first by rotating the seal as I put light pressure on it. Now CAREFULLY press it in until fully seated. I again used the old cups (fat side down) and a plate to accomplish this.
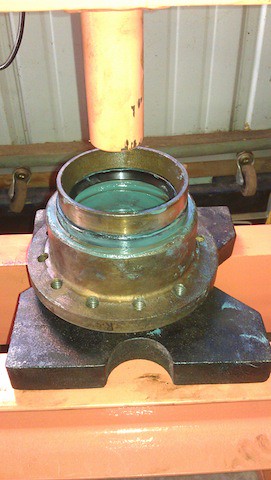
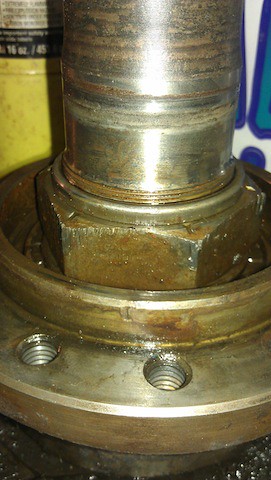
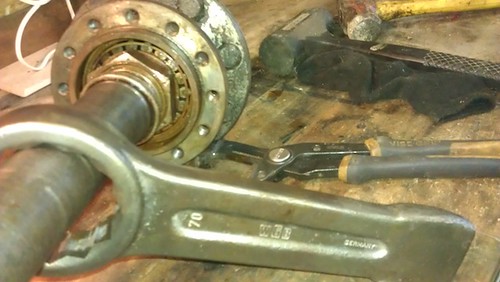
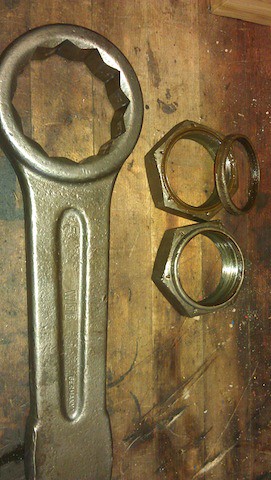
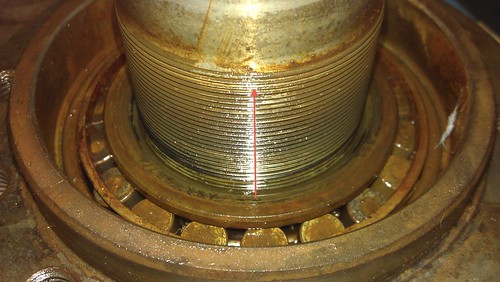
Now time for the biggie! I was concerned about getting an even start for the axle bearing and decided I would try to get an even start by driving it on with the axle nut. Again I lubed everything with grease and simply placed axle on my workbench. Carefully lower the retainer down over the axle and as soon as you feel the seal make contact with the axle start rotating the retainer as you keep lowering it until it bottoms out against the seat. Spinning it as you lower it will reduce the chance of damaging the seal as it passes over the threads and axle face. Now fully pack the retainer and bearing with proper grease and carefully lower the bearing until it rests EVENLY on the axle. Now take the lubed axle nut and thread it on by hand until it makes contact with the bearing face. Double check that the nut is contacting the bearing evenly all around and then begin driving the bearing onto the axle by tightening the axle nut. I accomplished this by using my slogging wrench to tighten the nut. As soon as you're confident the bearing is being driven on evenly you can now finish driving on the bearing with a press. I found that it was going on easy enough with the nut and so I just trapped the axle in my vise and was able to continue driving the bearing on with the nut and slogging wrench by hand. Because I was wrenching it on by hand it was very obvious when the bearing finally bottomed out against the seat. Not having a proper torque wrench for a job this size, I simply gave my slogging hammer a few good "taps" with a small 3lb. sledge. These nuts should be torqued 230-250ft/lbs..
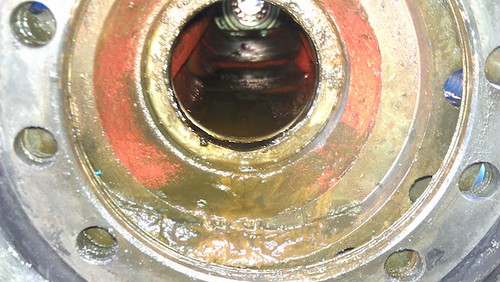
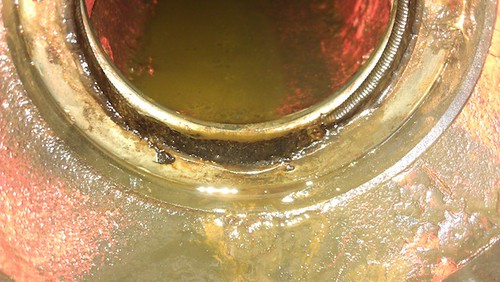
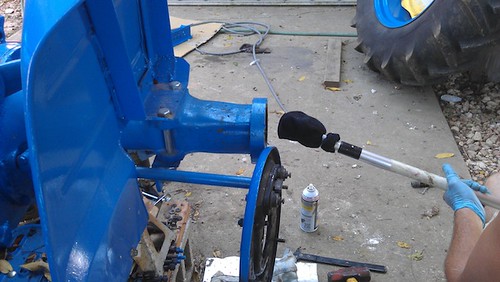
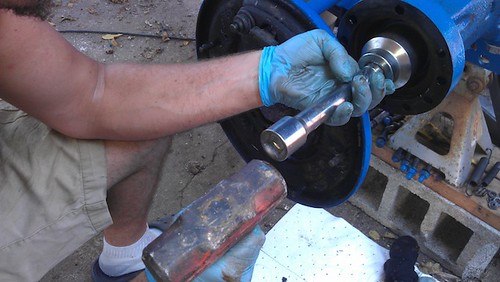
Sweet! Now time to put the new inner seals in the axle housings. First to remove the old ones with a seal puller. Mine were fairly corroded and I found it necessary to "weaken" the seal body with a small wood chisel and peel the seal away from the axle. If you find this necessary as well I would recommend working the top of the seal in case you accidentally strike the seal land and score it. This way any damage done is at least towards the top of the seat/seal and unlikely to see any oil any how. With the old seals removed I could see some old dirty looking oil that had been sitting in the axle body and decided to remove it by making a giant swab out of socks zip tied to a pole. This worked well. Just be careful not to push and dirt into the inner drive splines. Now do a final cleanup to the inner seal seat and pre lube it. Now lube the seal and center it by hand. Once centered, drive the new seal in until it bottoms out against the seat. I used a small sledge and large socket to tap it in being sure it went in evenly and not to damage the seal body.
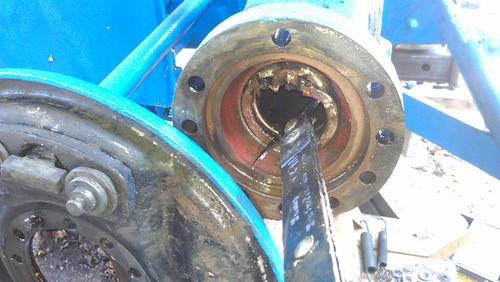
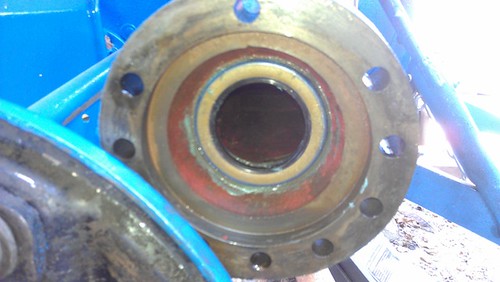
Now time to reinstall the axles! Be sure there is still plenty of grease on the axle assembly and the inner seal and splines to reduce any possibility of damaging the seal as you insert the axle. I found it helpful to have all the retainer studs already evenly inserted into the retainer save one. The one odd stud should be holding the shims and backing plate in place on top of the axle housing. Now slowly and carefully insert the axle into the housing being sure to fully support the axle and not let it "ride" on your new inner seal. I was able to do this myself but I can see this being a two person job. Whatever it takes not to damage that new seal! You may find it necessary to slightly rotate the axle one way or another to line up the splines but it should go fairly easily. The axle will support itself once the retainer studs enter the housing holes. Now you will have to draw the axle in the rest of the way using 10 nuts on the retainer studs. Just be sure to use the "star" method (as you do mounting wheel studs) to draw it in evenly. These nuts should be torqued 40-45ft/lbs.
Now cleanup your brake assembly/drums and reinstall with new brake linings. Remount your wheels, top off your differential fluid, adjust brakes and you're done! Congrats and enjoy being able to stop your tractor now!

